Get up and running with the Phare platform, learn how to create your account, select a plan, and set up your first project.
Ready to level up your monitoring game? This guide walks through the quick onboarding process to get started with Phare. By the end, you’ll have an organization account and know how to start using Phare products to run reliable websites and APIs.
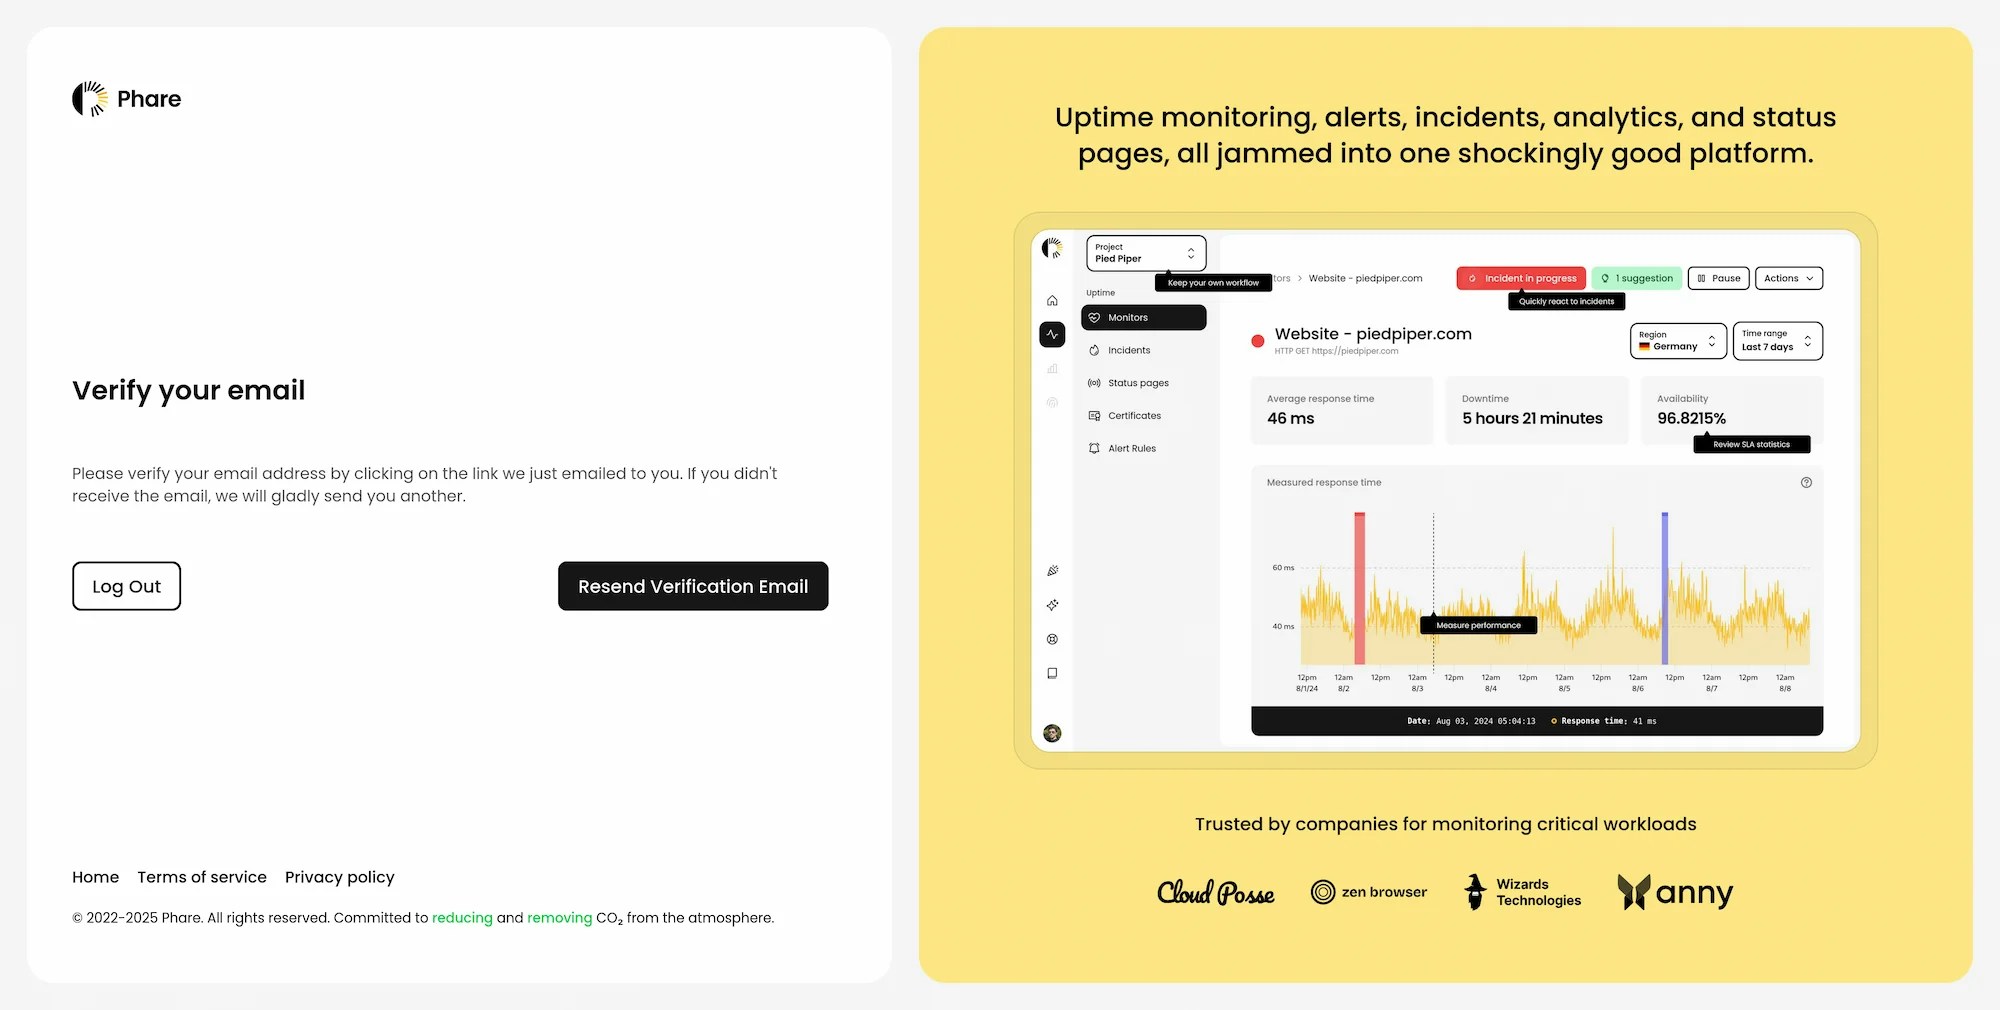
First things first, you need a Phare account. Head over to the registration page and sign up in just a few clicks.Once you’ve created your account, watch for a confirmation email in your inbox. Click the confirmation link to verify your account and log in to Phare. Easy!
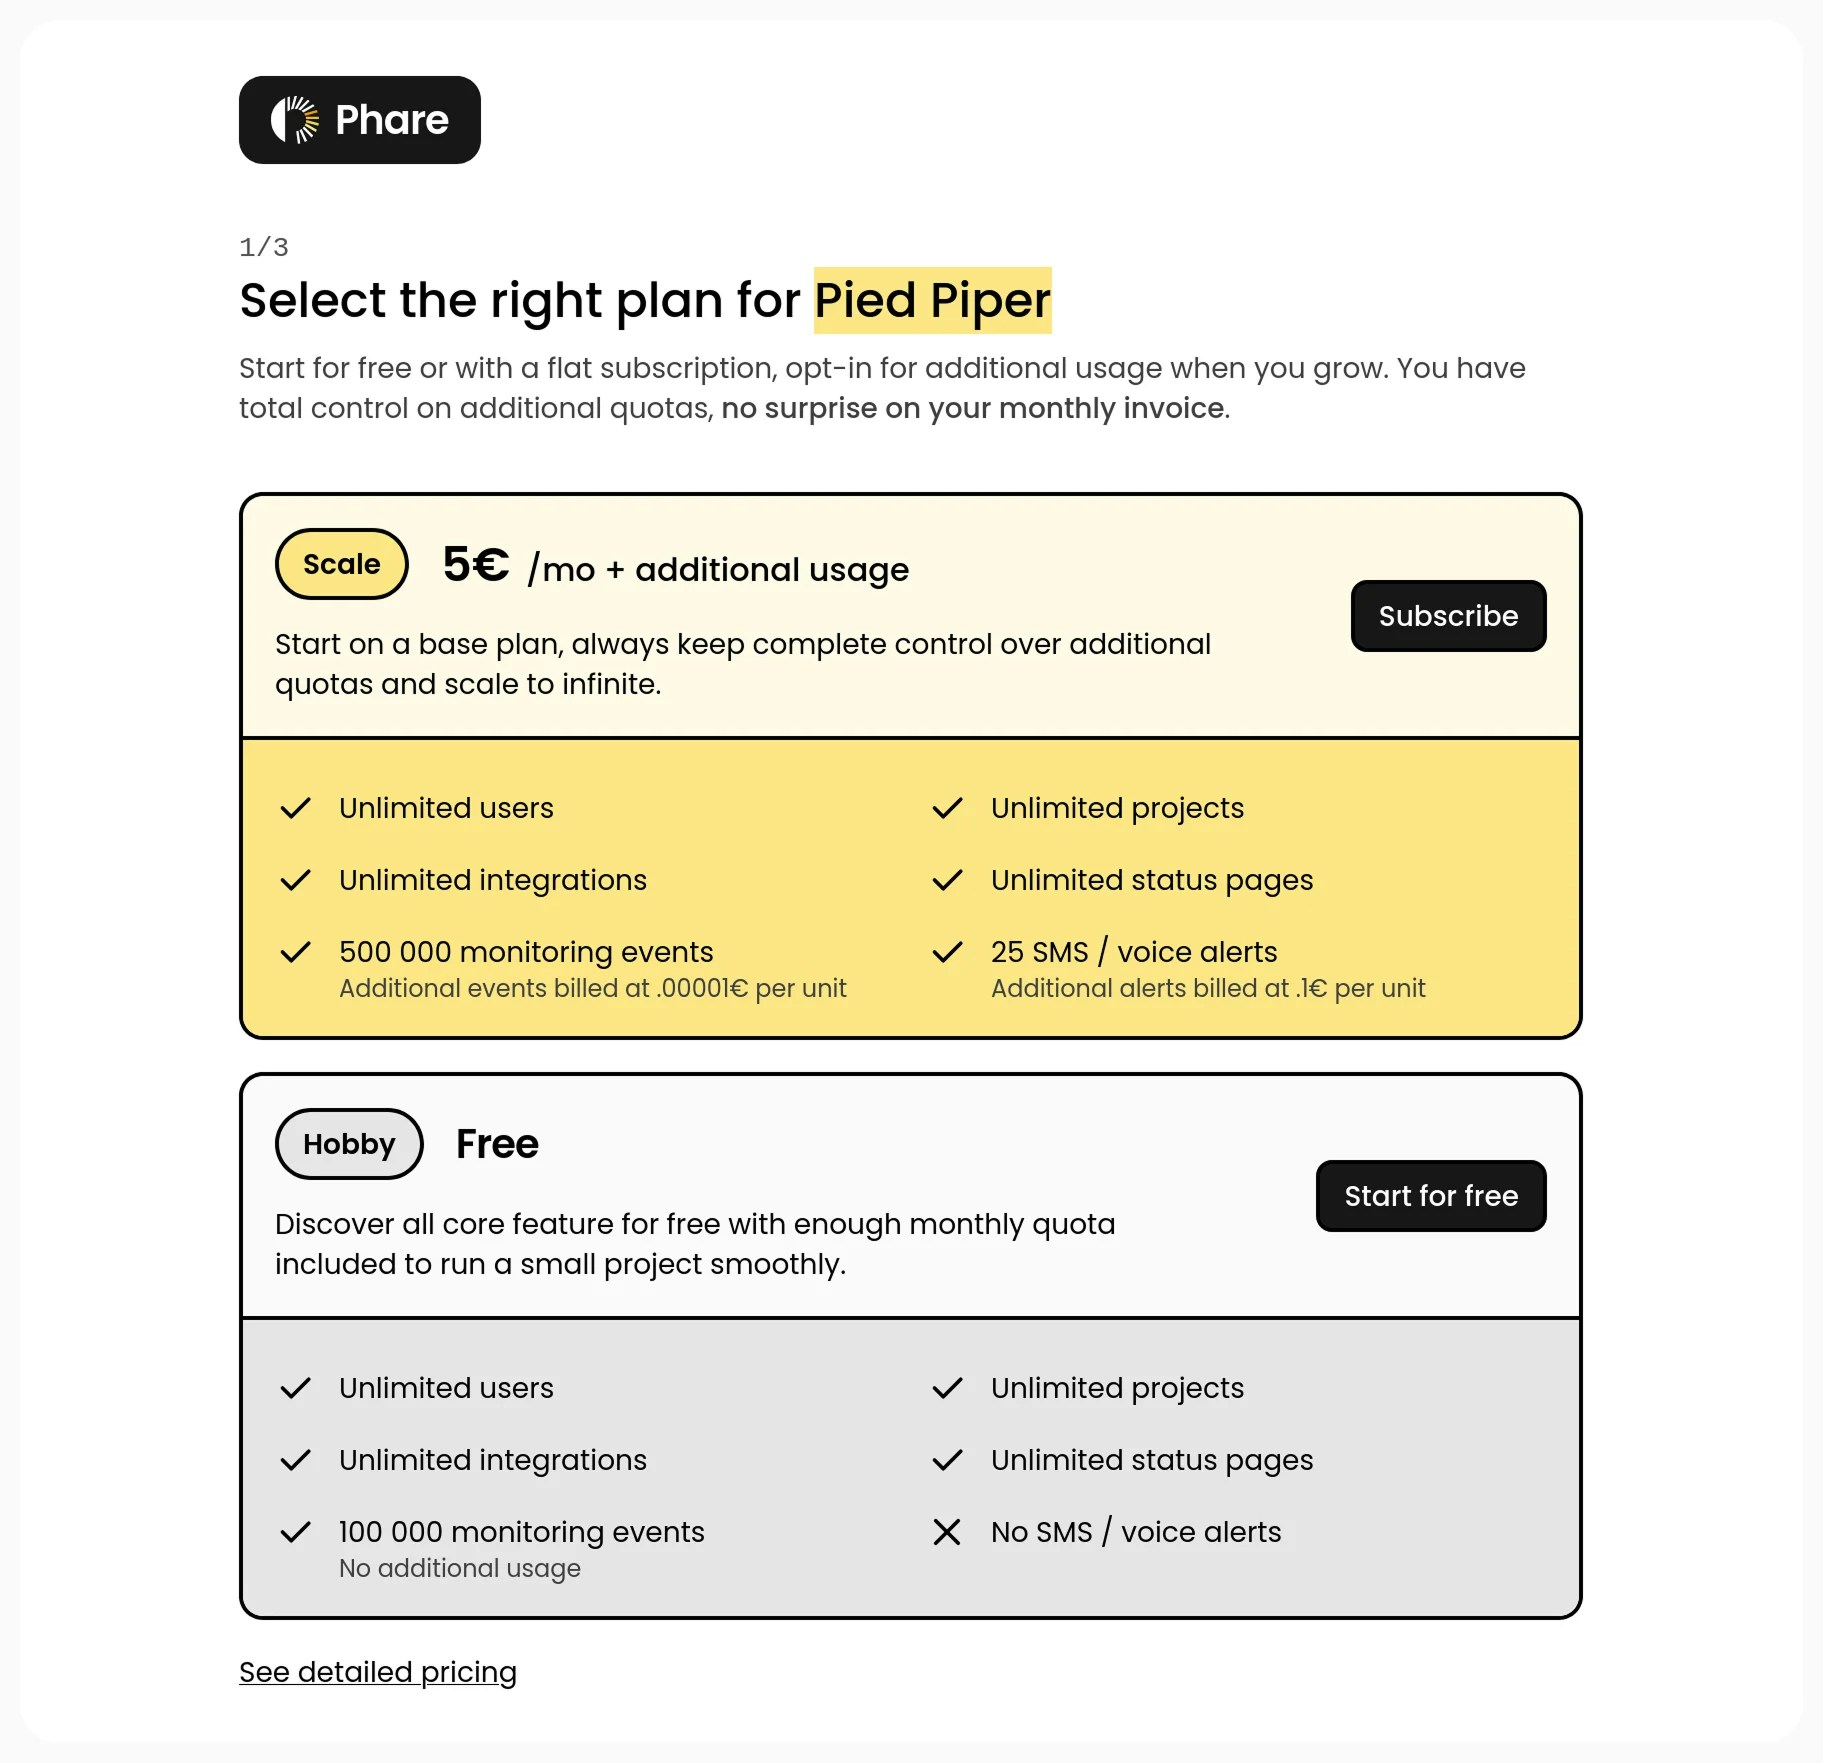
Now it’s time to choose your plan. There are only two options: Hobby (free) and Scale (paid). Both plans pack the same powerful features, but the Hobby plan comes with more restricted usage limits. No long-term commitment is required, and plan changes or upgrades are available anytime.
If you go with the Scale plan, you’ll be prompted for your payment method. This data is not stored or accessible by Phare and is managed by the payment provider Paddle.Paddle is a trusted merchant of record. They are PCI & SOC 2 compliant and have a strong track record of security.
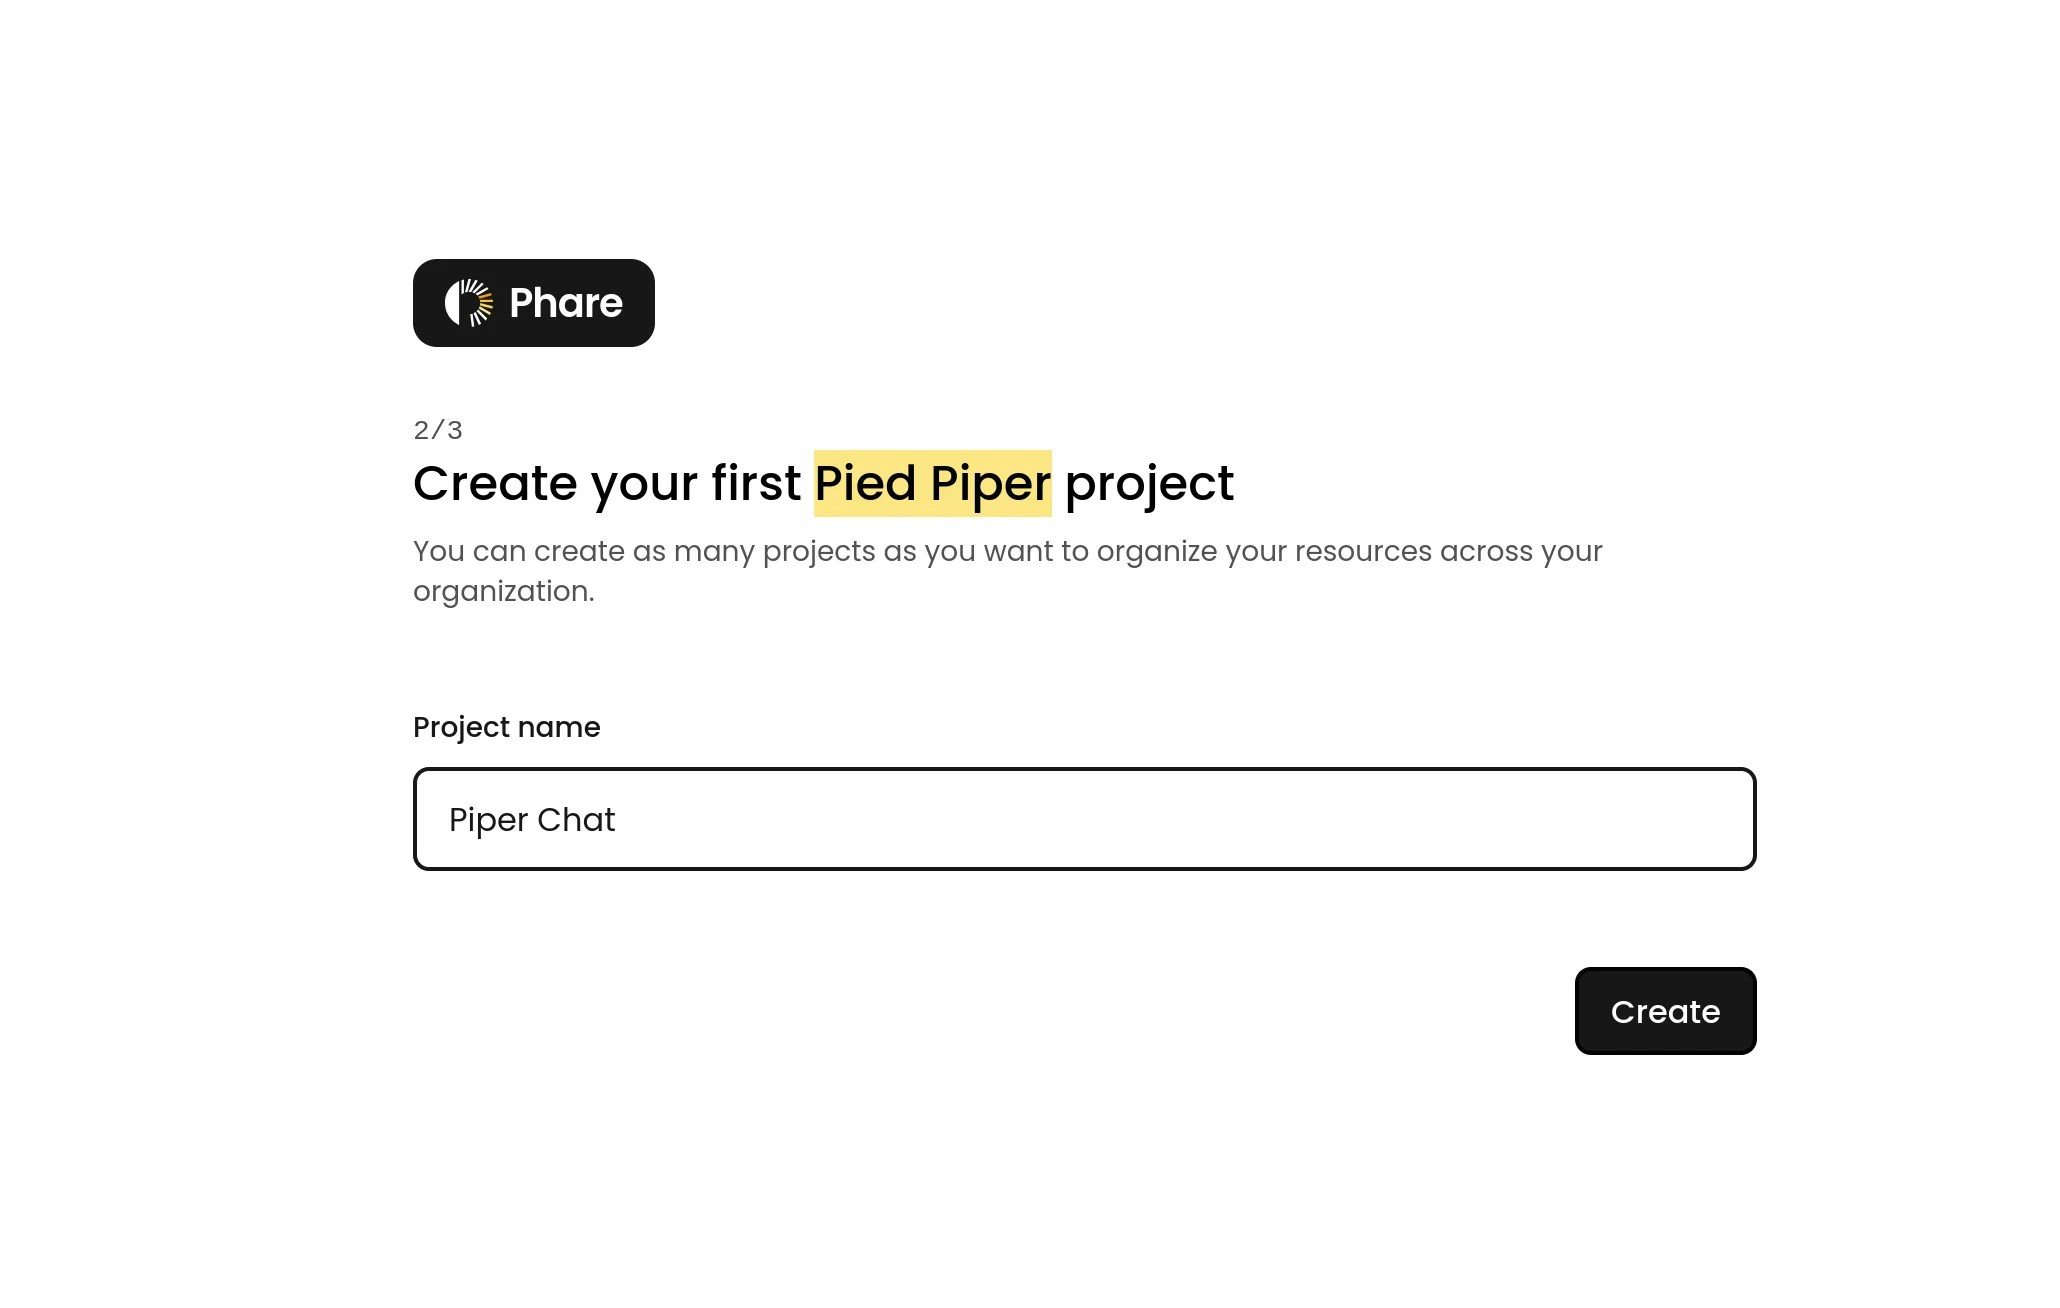
With your plan sorted, it’s time to create your first project! Think of projects as containers for organizing your resources. In Phare, everything lives either directly in your organization or within a project inside your organization.
Pro tip: To keep things tidy, try mirroring your organization’s actual
structure in how you set up your projects. And remember, projects also
control who can access what. So if something should only be visible to
certain team members, give it its own project.
Congratulations!You’ve completed the Phare onboarding process. Now the fun part begins: start exploring the different products and features Phare has to offer.
Uptime
Monitor your websites and APIs, handle incidents, manage certificates
and create status pages