
Roles
Phare keeps it simple with three roles: Owner, Admin, and Member. Each comes with its own permission set to help you build the right team structure.- Owner: The organization’s founder and primary administrator. Owners have all admin powers plus the ability to delete the organization and demote admins when necessary.
- Admin: The trusted lieutenants of your organization. Admins get full access to all resources, can join any project freely, and can promote other users to admin status.
- Member: Members have complete access to their assigned projects and can create new projects. They can also invite new members to join the organization, helping your team grow organically.
Accessing projects
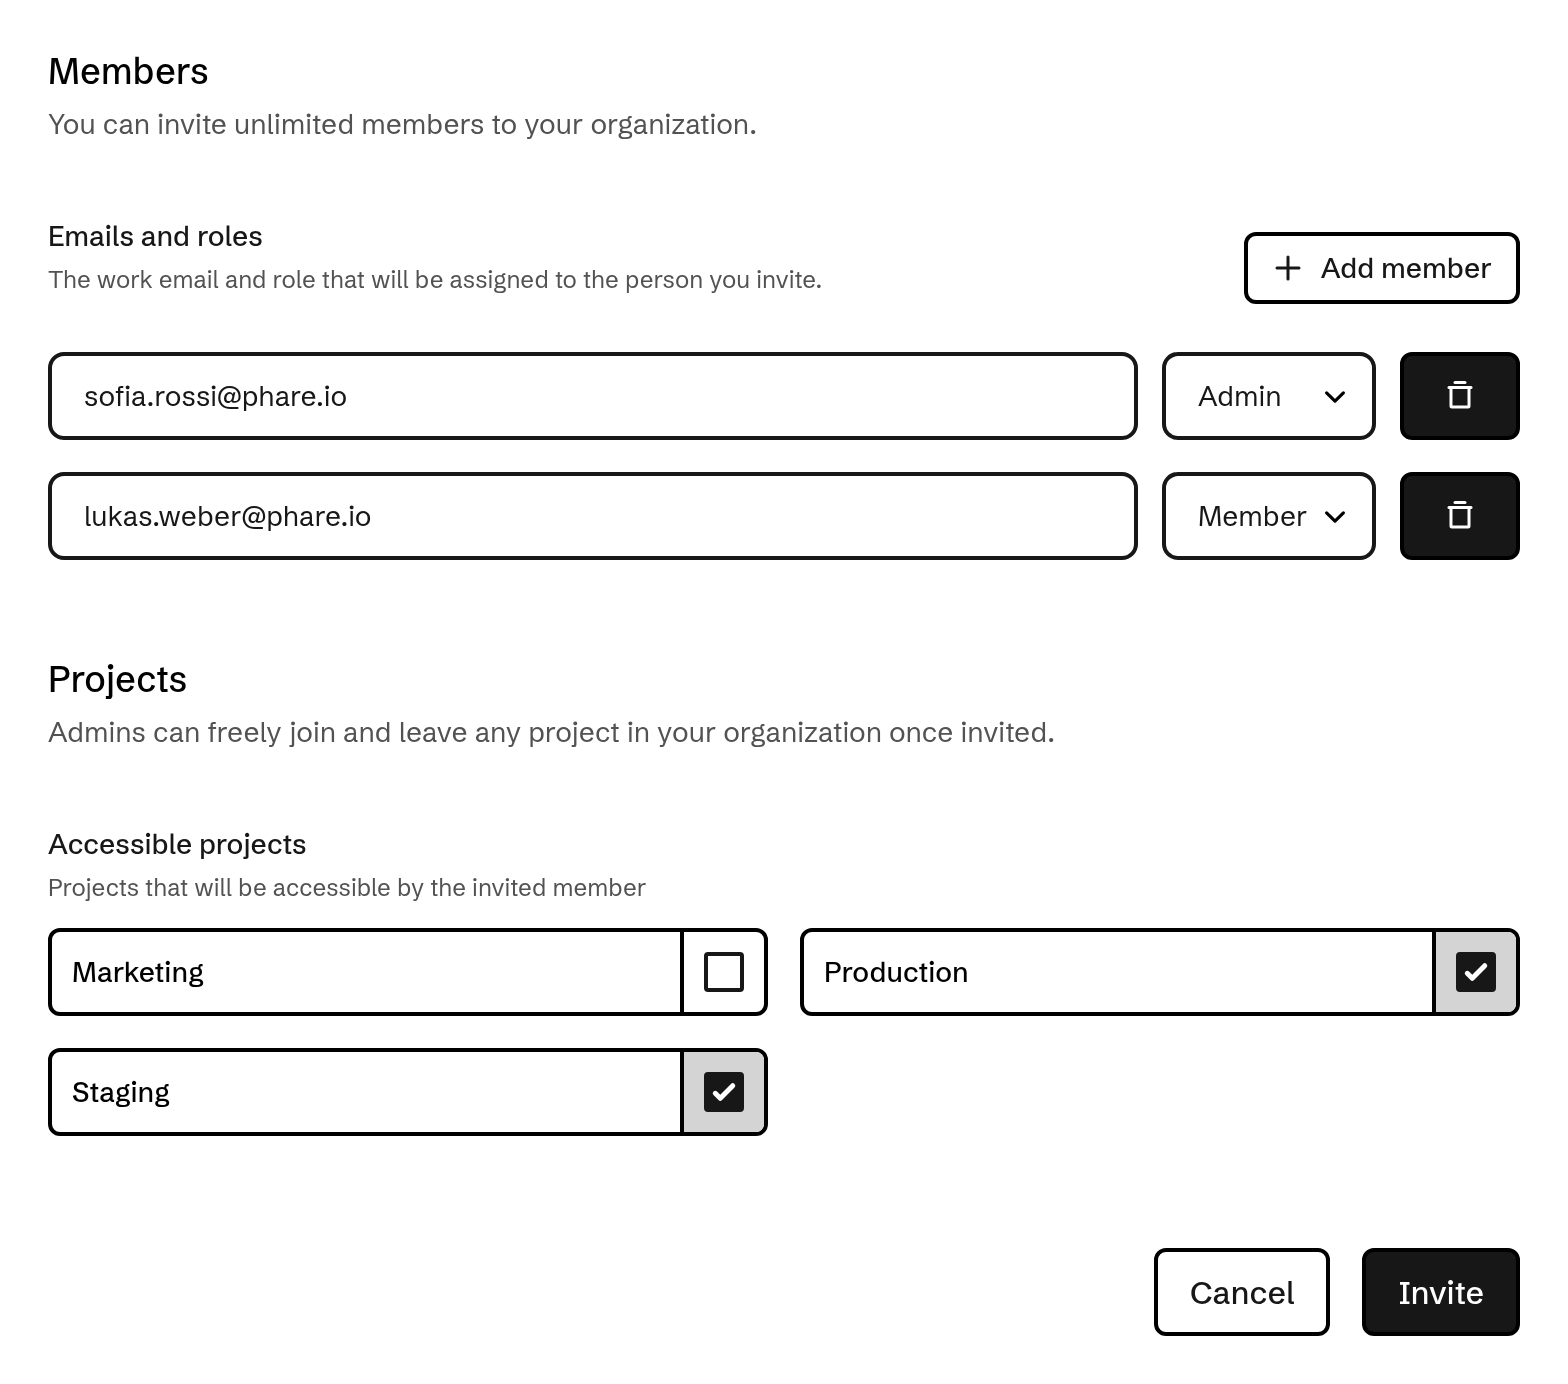
When inviting Members to your organization, you can customize which projects they can access. Need to adjust their access later? No problem. You can update permissions anytime as your team’s needs evolve. Admins and Owners can join any project they want, but the project selector only shows the ones they’ve actively joined. This keep the workspace clean and focused. Other projects can still be modified or deleted from the organization’s project page without cluttering the daily view.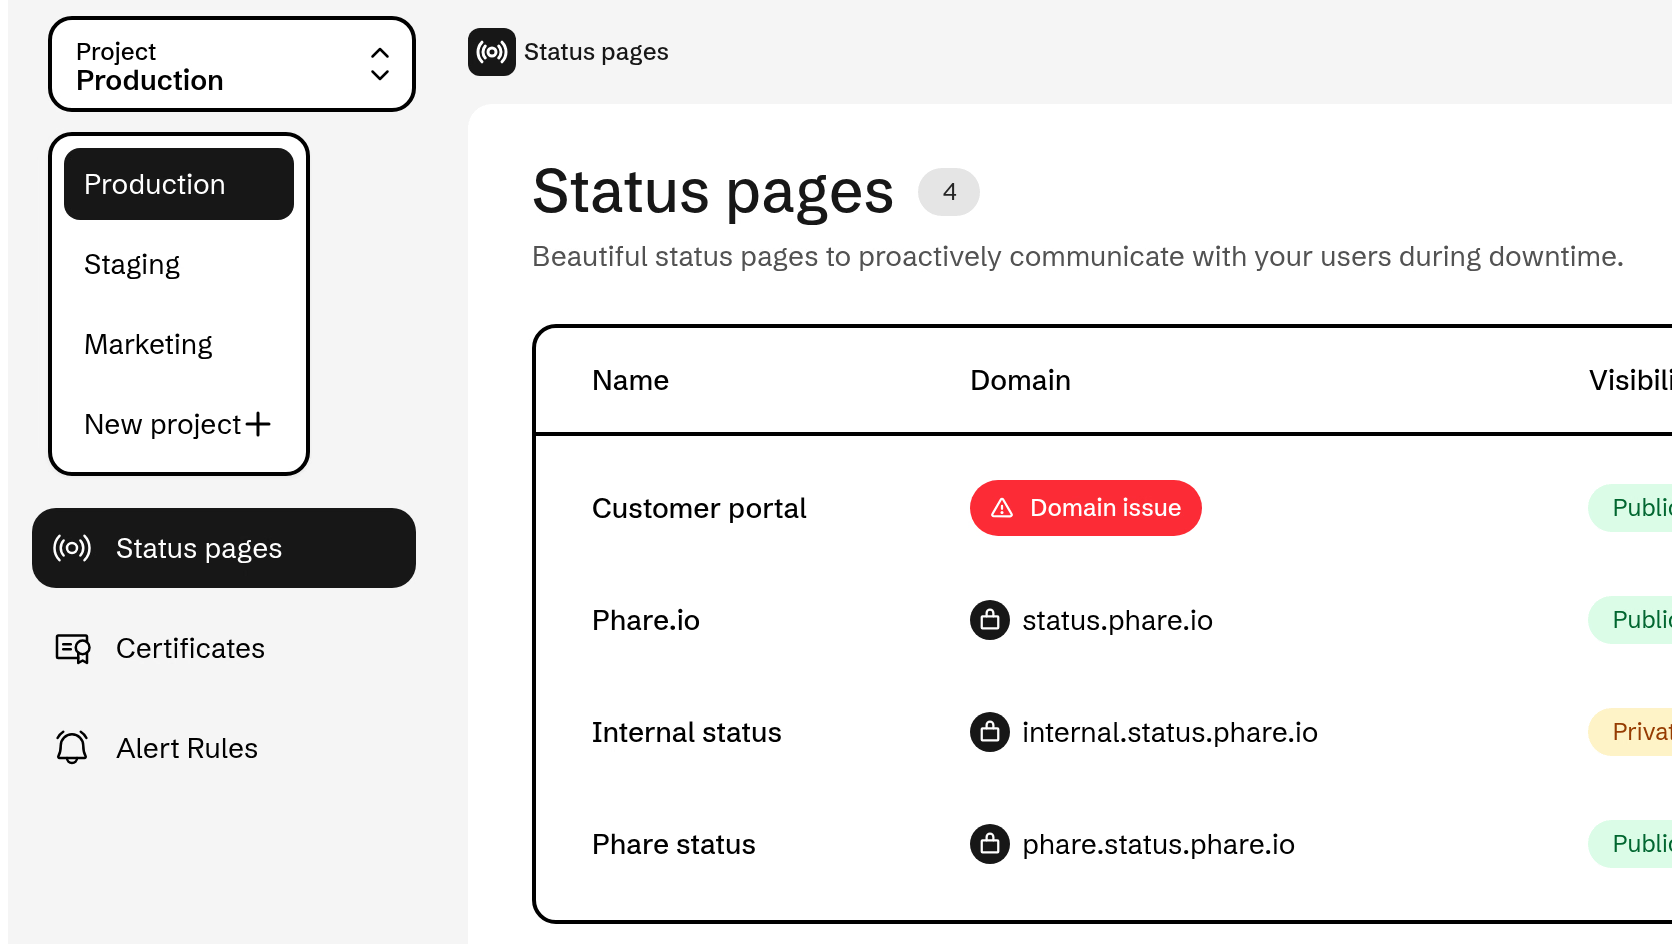
Single sign-on
Single sign-on (SSO) lets your members log in to Phare with the identity provider of your organization. You manage access to Phare in one place, and your security rules, like multi-factor authentication, apply to Phare too. Phare works with any identity provider supporting OpenID Connect, like Okta, Microsoft Entra ID, Google Workspace, Auth0, JumpCloud, OneLogin, Keycloak, authentik and ZITADEL.Single sign-on is available on the Scale plan. Owners and admins can set it up in the single sign-on section of the organization settings.
How it works
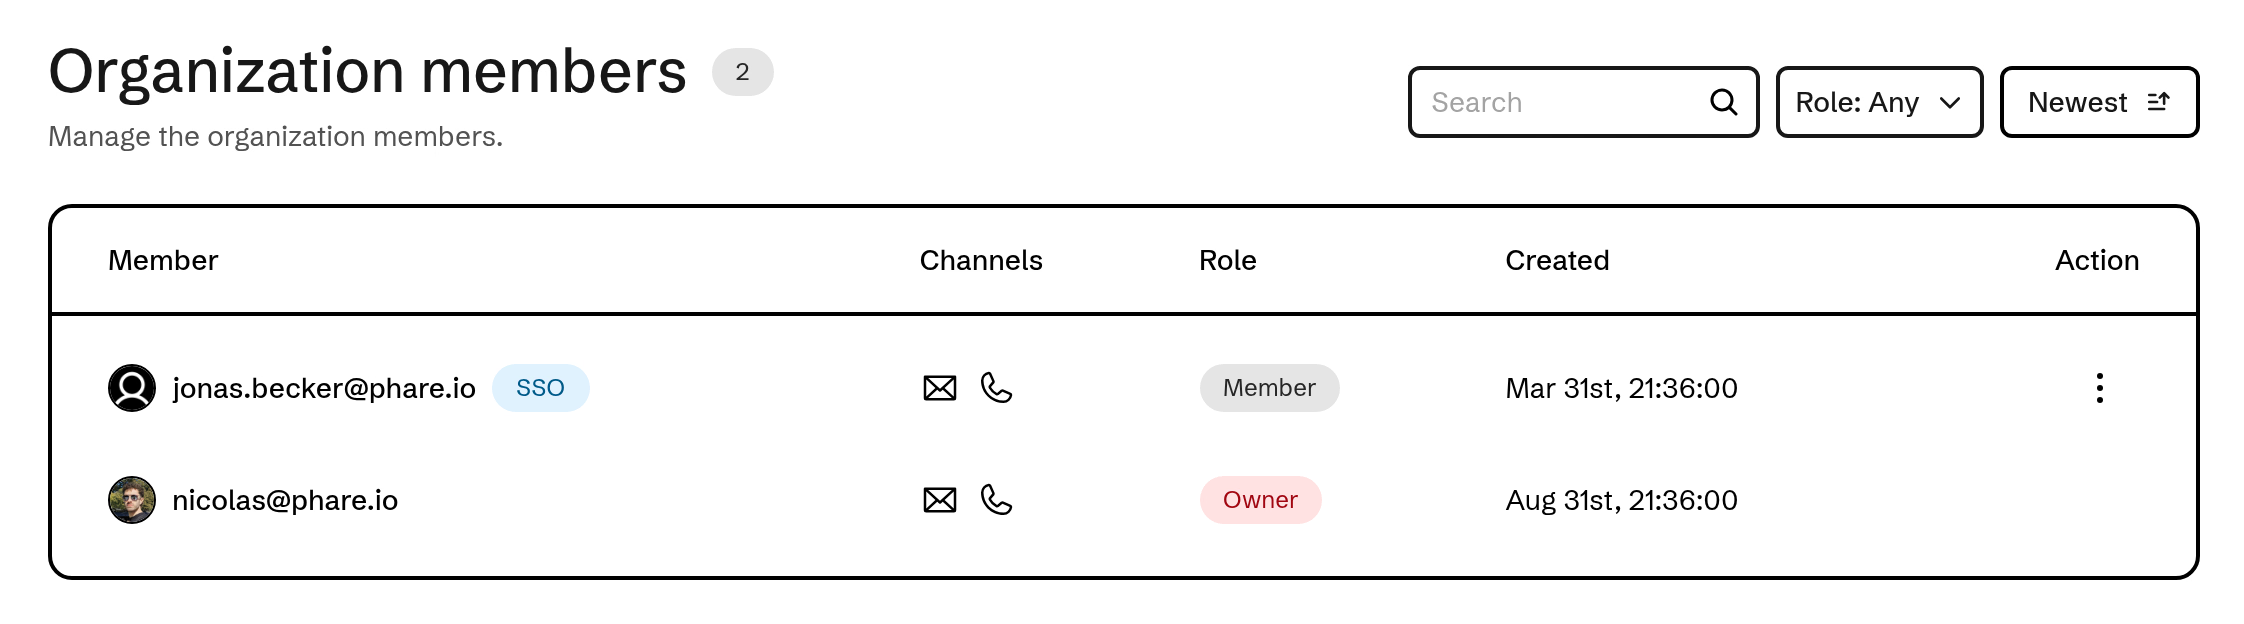
Once enabled, single sign-on is required for your whole organization:- Admins and members log in with your identity provider, which now manages their email, password and two-factor authentication.
- The owner keeps their password and two-factor authentication, so they can always log in, even if your identity provider is down.
- New members still need an invitation, Phare never creates accounts automatically.
Configure your identity provider
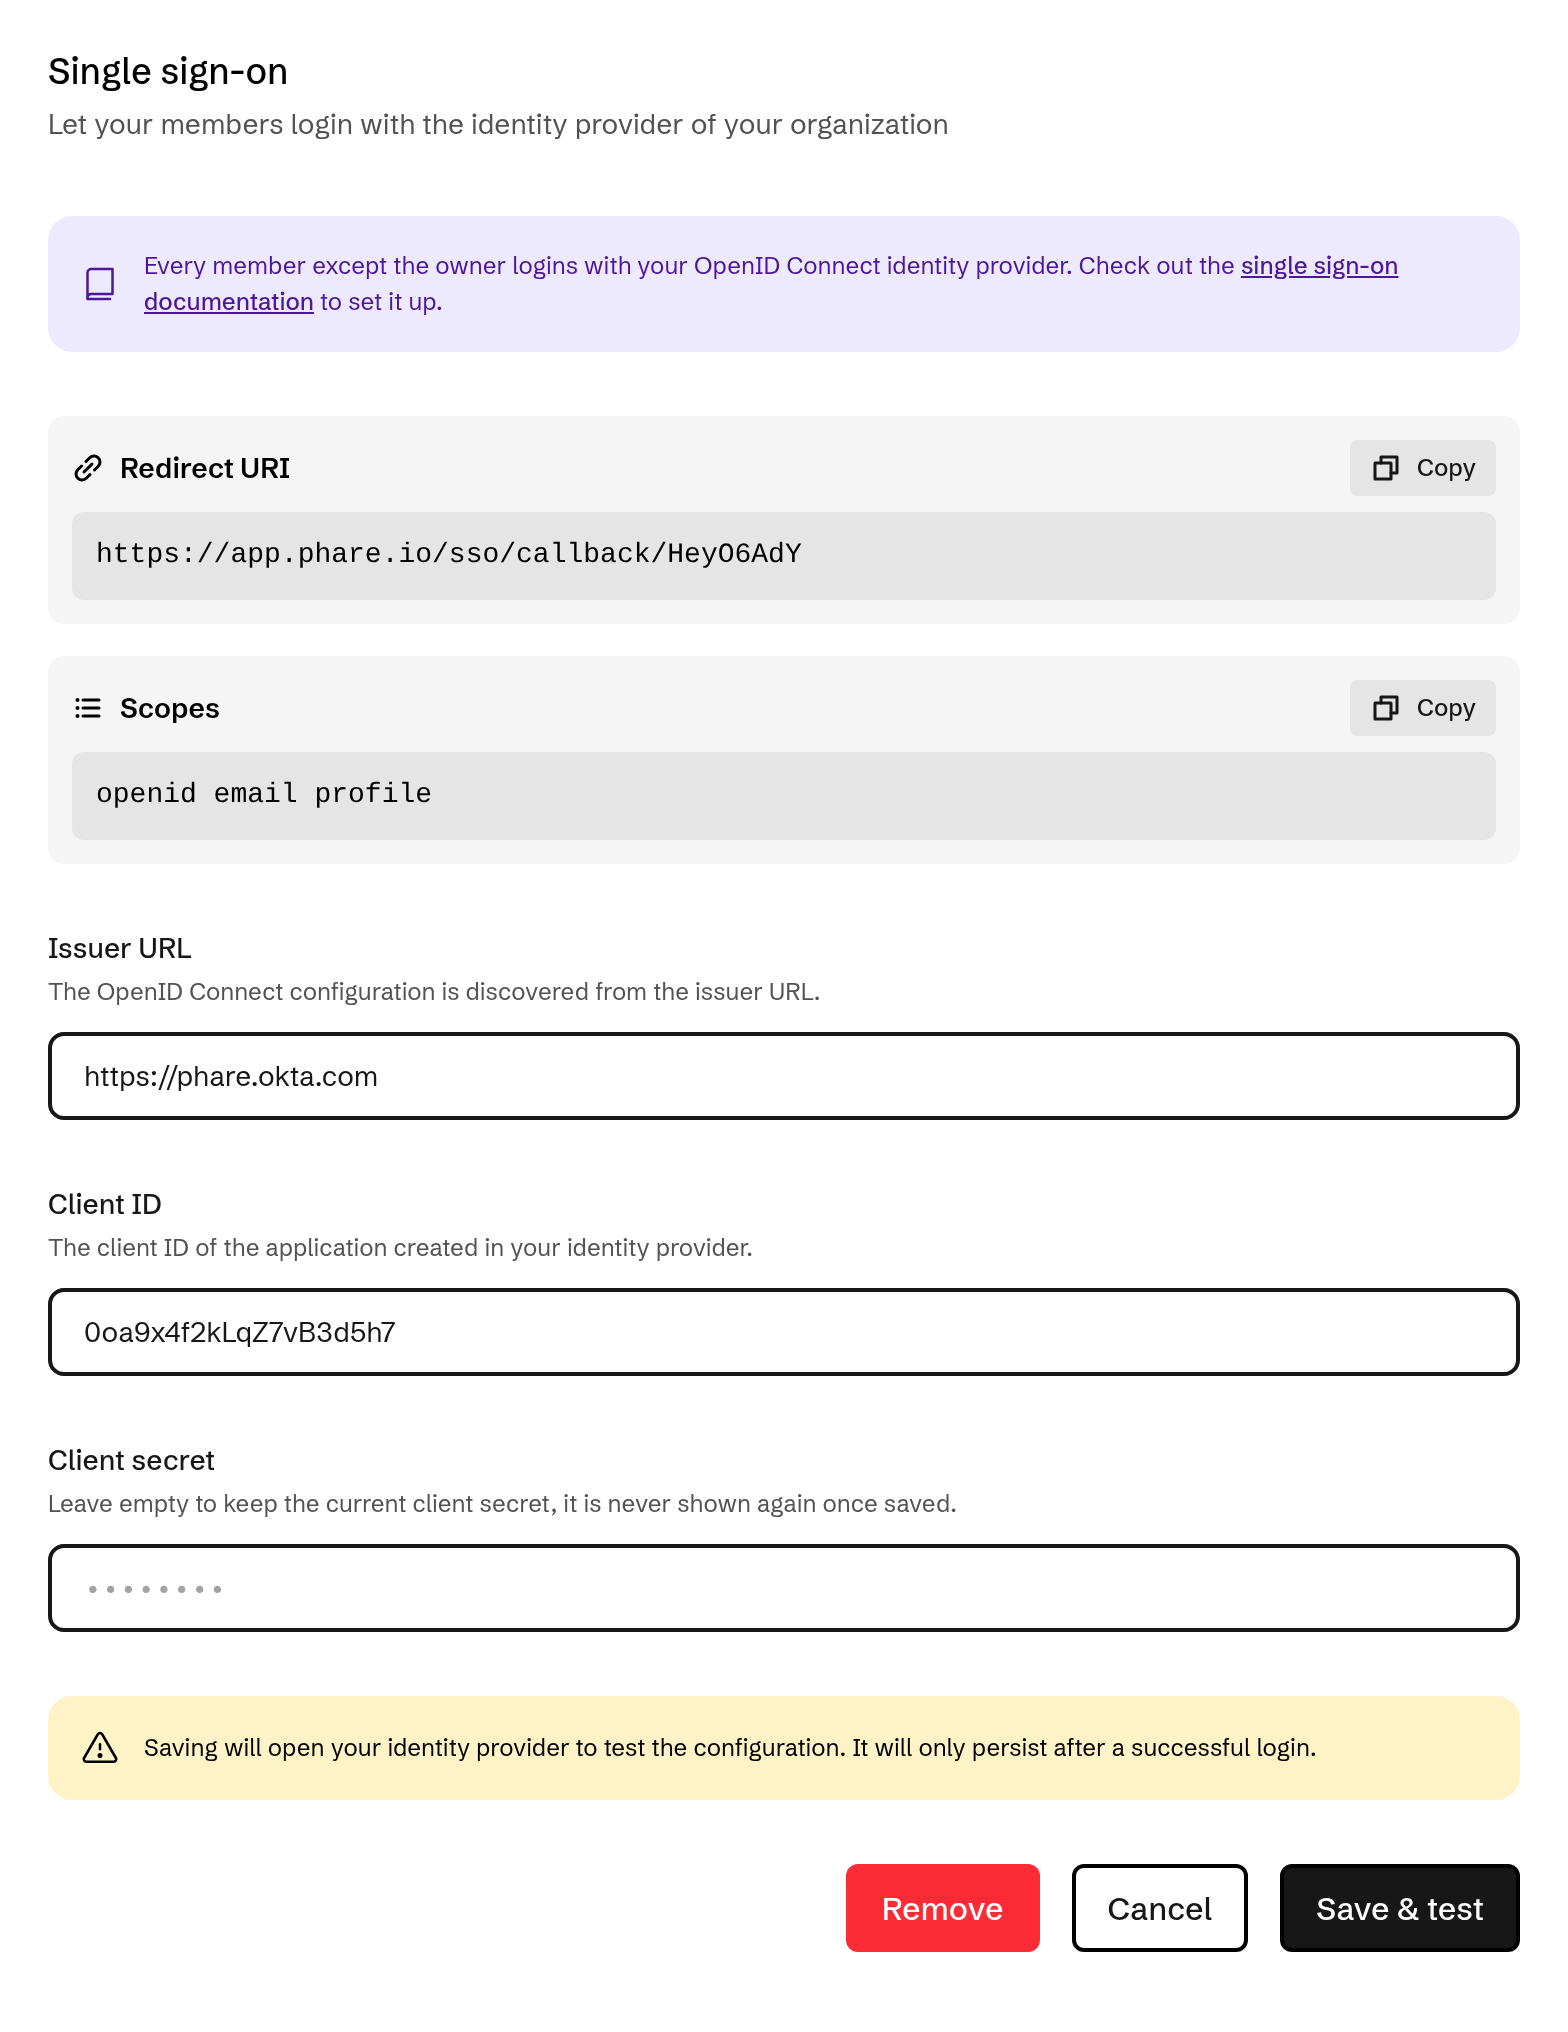
Create an OpenID Connect web application in your identity provider (a confidential client using the authorization code flow) with the following settings:
Your identity provider then gives you the issuer URL, client ID and client secret needed by Phare. Select your identity provider below for step-by-step instructions.
Okta
Okta
- In the Okta Admin Console, go to Applications > Applications (Applications and Resources > Applications on recent Okta organizations) and click Create App Integration. If Okta asks you to choose an experience, choose Classic experience.
- Choose the OIDC - OpenID Connect sign-in method and the Web Application type, then click Next.
- Enter a name, keep Authorization Code as the only grant type, and paste the redirect URI in Sign-in redirect URIs.
- Under Assignments, choose Limit access to selected groups, select the groups allowed to use Phare, then click Save.
- In the General tab, keep Client secret as client authentication, then copy the Client ID and Client secret.
- Issuer URL: your Okta domain, for example
https://your-organization.okta.com. If you use a custom authorization server, enter its issuer instead, for examplehttps://your-organization.okta.com/oauth2/default. - Client ID and Client secret: the ones copied in step 5.
-admin domain of the Admin Console. Users not assigned to the application can’t log in, you can assign more in its Assignments tab.Learn more in the Okta documentation.Microsoft Entra ID
Microsoft Entra ID
- In the Microsoft Entra admin center, go to Entra ID > App registrations and click New registration.
- Enter a name and choose the single tenant account type (Accounts in this organizational directory only or Single tenant only, depending on your tenant). Under Redirect URI, choose the Web platform, paste the redirect URI and click Register.
- In the Overview page, copy the Application (client) ID and the Directory (tenant) ID.
- In Certificates & secrets, click New client secret, choose an expiration and click Add. Copy the secret Value, it is only shown once. The Secret ID doesn’t work with Phare.
- In API permissions, click Grant admin consent for your tenant, so members don’t see a consent screen on their first login.
- To restrict access, open the application in Enterprise apps, set Assignment required? to Yes in Properties, then assign the users or groups allowed to use Phare in Users and groups.
- Issuer URL:
https://login.microsoftonline.com/<tenant-id>/v2.0, with the Directory (tenant) ID copied in step 3. - Client ID: the Application (client) ID copied in step 3.
- Client secret: the secret Value copied in step 4.
common, organizations and consumers) don’t work with Phare.Phare uses the Email property of your users, not their user principal name. Users without a mailbox may not have one, you can add it in the contact information of their profile.Client secrets expire after 24 months at most, create a new one and update it in Phare before it expires.Learn more in the Microsoft documentation.Google Workspace
Google Workspace
- In the Google Cloud console, select or create a project in your Google Workspace organization, and open Google Auth Platform.
- If Google Auth Platform is not configured yet, click Get started. Enter an app name and a support email, choose the Internal audience so only accounts of your Google Workspace can log in, and complete the setup.
- In Clients, click Create client and choose the Web application type. Paste the redirect URI in Authorized redirect URIs, then click Create.
- Copy the Client ID and Client secret, the client secret is only shown once.
- Issuer URL:
https://accounts.google.com - Client ID and Client secret: the ones copied in step 4.
Auth0
Auth0
- In the Auth0 Dashboard, go to Applications > Applications and click Create Application. Choose Regular Web Applications and click Create.
- In the Settings tab, paste the redirect URI in Allowed Callback URLs and click Save Changes. Copy the Domain, Client ID and Client Secret.
- In the Credentials tab, choose the Client Secret (Basic) authentication method and click Save. New applications use Client Secret (Post) by default, which doesn’t work with Phare.
- In the Settings tab, open Advanced Settings > OAuth and make sure the JSON Web Token (JWT) Signature Algorithm is RS256.
- To restrict access, only enable the connections used by your members in the Connections tab.
- Issuer URL: the Domain copied in step 2, for example
https://your-tenant.us.auth0.com/, or your custom domain, for examplehttps://login.example.com/. - Client ID and Client secret: the ones copied in step 2.
regular_web application type, the RS256 signature algorithm and the client_secret_basic authentication method, as the default values don’t work with Phare.Learn more in the Auth0 documentation.JumpCloud
JumpCloud
- In the JumpCloud Admin Portal, go to Access > SSO Applications and click Add New Application.
- Choose Custom Application, then select Manage Single Sign-On (SSO) and Configure SSO with OIDC. Enter a display label and click Configure Application.
- In the SSO tab:
- Paste the redirect URI in Redirect URIs.
- Choose Client Secret Basic as Client Authentication Type.
- Enter
https://app.phare.io/login#ssoas Login URL. - In Attribute Mapping, check the Email and Profile standard scopes.
- Click Activate, then copy the Client ID and Client Secret, the client secret is only shown once.
- In the User Groups tab, select the groups allowed to use Phare and click Save.
- Issuer URL:
https://oauth.id.jumpcloud.com/. If your JumpCloud organization is hosted in the EU, usehttps://oauth.id.eu.jumpcloud.com/, and in Indiahttps://oauth.id.in.jumpcloud.com/. - Client ID and Client secret: the ones copied in step 4.
OneLogin
OneLogin
- In the OneLogin admin portal, go to Applications > Applications and click Add App.
- Search for OpenId Connect (OIDC), select it, enter a display name and click Save.
- In the Configuration tab, paste the redirect URI in Redirect URI’s, optionally enter
https://app.phare.io/login#ssoas Login Url, and click Save. - In the SSO tab, choose the Web application type and the Basic token endpoint authentication method, then click Save. Copy the Client ID and the client secret, using Show client secret.
- In the Access tab, select the roles allowed to use Phare and click Save.
- Issuer URL: the issuer URL shown in the SSO tab, for example
https://your-organization.onelogin.com/oidc/2. - Client ID and Client secret: the ones copied in step 4.
/oidc/2, not /oidc. OneLogin can take up to 10 minutes to apply a new redirect URI.Learn more in the OneLogin documentation.Keycloak
Keycloak
- In the Keycloak admin console, select your realm and go to Clients > Create client.
- In General settings, keep the OpenID Connect client type, enter a client ID such as
phare, and click Next. - In Capability config, turn Client authentication on, keep Standard flow checked, and click Next.
- In Login settings, paste the redirect URI in Valid redirect URIs and click Save.
- In the Credentials tab, keep the Client Id and Secret client authenticator and copy the Client Secret.
- Issuer URL:
https://keycloak.example.com/realms/<realm>, orhttps://keycloak.example.com/auth/realms/<realm>for Keycloak versions older than 17. - Client ID and Client secret: the ones from steps 2 and 5.
hostname option set to its public URL, and proxy headers enabled behind a reverse proxy.Keycloak can’t restrict access to a client, use a dedicated realm to restrict who can log in to Phare.Learn more in the Keycloak documentation.authentik
authentik
- In the authentik admin interface, go to Applications > Applications and create an application with a new provider: Create with Provider, or New Application > with New Provider since authentik 2026.5.
- Enter a name, copy the Slug of the application, then choose the OAuth2/OpenID Connect provider type.
- In the provider settings:
- Keep the Confidential client type, then copy the Client ID and Client Secret.
- Paste the redirect URI in Redirect URIs/Origins, with the Strict matching mode.
- Select an RSA Signing Key, such as authentik Self-signed Certificate. Without a signing key, authentik signs ID tokens with HS256, which doesn’t work with Phare.
- To restrict access, bind the users or groups allowed to use Phare. Then create the application.
- Issuer URL:
https://authentik.example.com/application/o/<slug>/, with the slug copied in step 2. - Client ID and Client secret: the ones copied in step 3.
email as scope name and the following expression:Host and X-Forwarded-Proto headers.Learn more in the authentik documentation.ZITADEL
ZITADEL
- In the ZITADEL console, go to Projects and create a project for Phare, or select an existing project.
- In the Applications of the project, click New. Enter a name, choose the Web type and click Continue.
- Choose the Code authentication method and click Continue.
- Paste the redirect URI in Redirect URIs, keep Development Mode off, then click Continue and Create.
- Copy the Client ID and Client Secret, the client secret is only shown once.
- In the Token settings of the application, enable Include user’s profile info in the ID Token (User Info inside ID Token on older versions) and click Save. Without it, ZITADEL doesn’t share the email of your users with Phare.
- Issuer URL: the domain of your instance, for example
https://your-instance.zitadel.cloud, or your custom domain. - Client ID and Client secret: the ones copied in step 5.
Other providers
Other providers
Any OpenID Connect identity provider publishing its configuration at
<issuer>/.well-known/openid-configuration works with Phare. Your identity provider must:- Be publicly reachable over https on port 443, without redirects. Identity providers only available on a private network or behind a VPN don’t work with Phare.
- Accept the
client_secret_basicclient authentication method. - Sign ID tokens with RS256, RS384, RS512, ES256 or ES384.
- Include the
emailclaim in the ID token. Phare only reads the ID token, not the userinfo endpoint. - Not report the email as unverified. Phare refuses emails with an
email_verifiedclaim set tofalse.
Enable single sign-on
1
Enter the configuration
In the single sign-on section of the organization settings, click Set up. Then enter the issuer URL, client ID and client secret of your application.
2
Save & test
Click Save & test, then log in to your identity provider with the account matching your Phare email.
3
Done
Single sign-on is enabled once the test login succeeds. A wrong configuration is never saved, so it can’t lock out your members.
Logging in
Members click Log in with single sign-on on the login page, or open the single sign-on login page directly, then enter their work email to continue with your identity provider.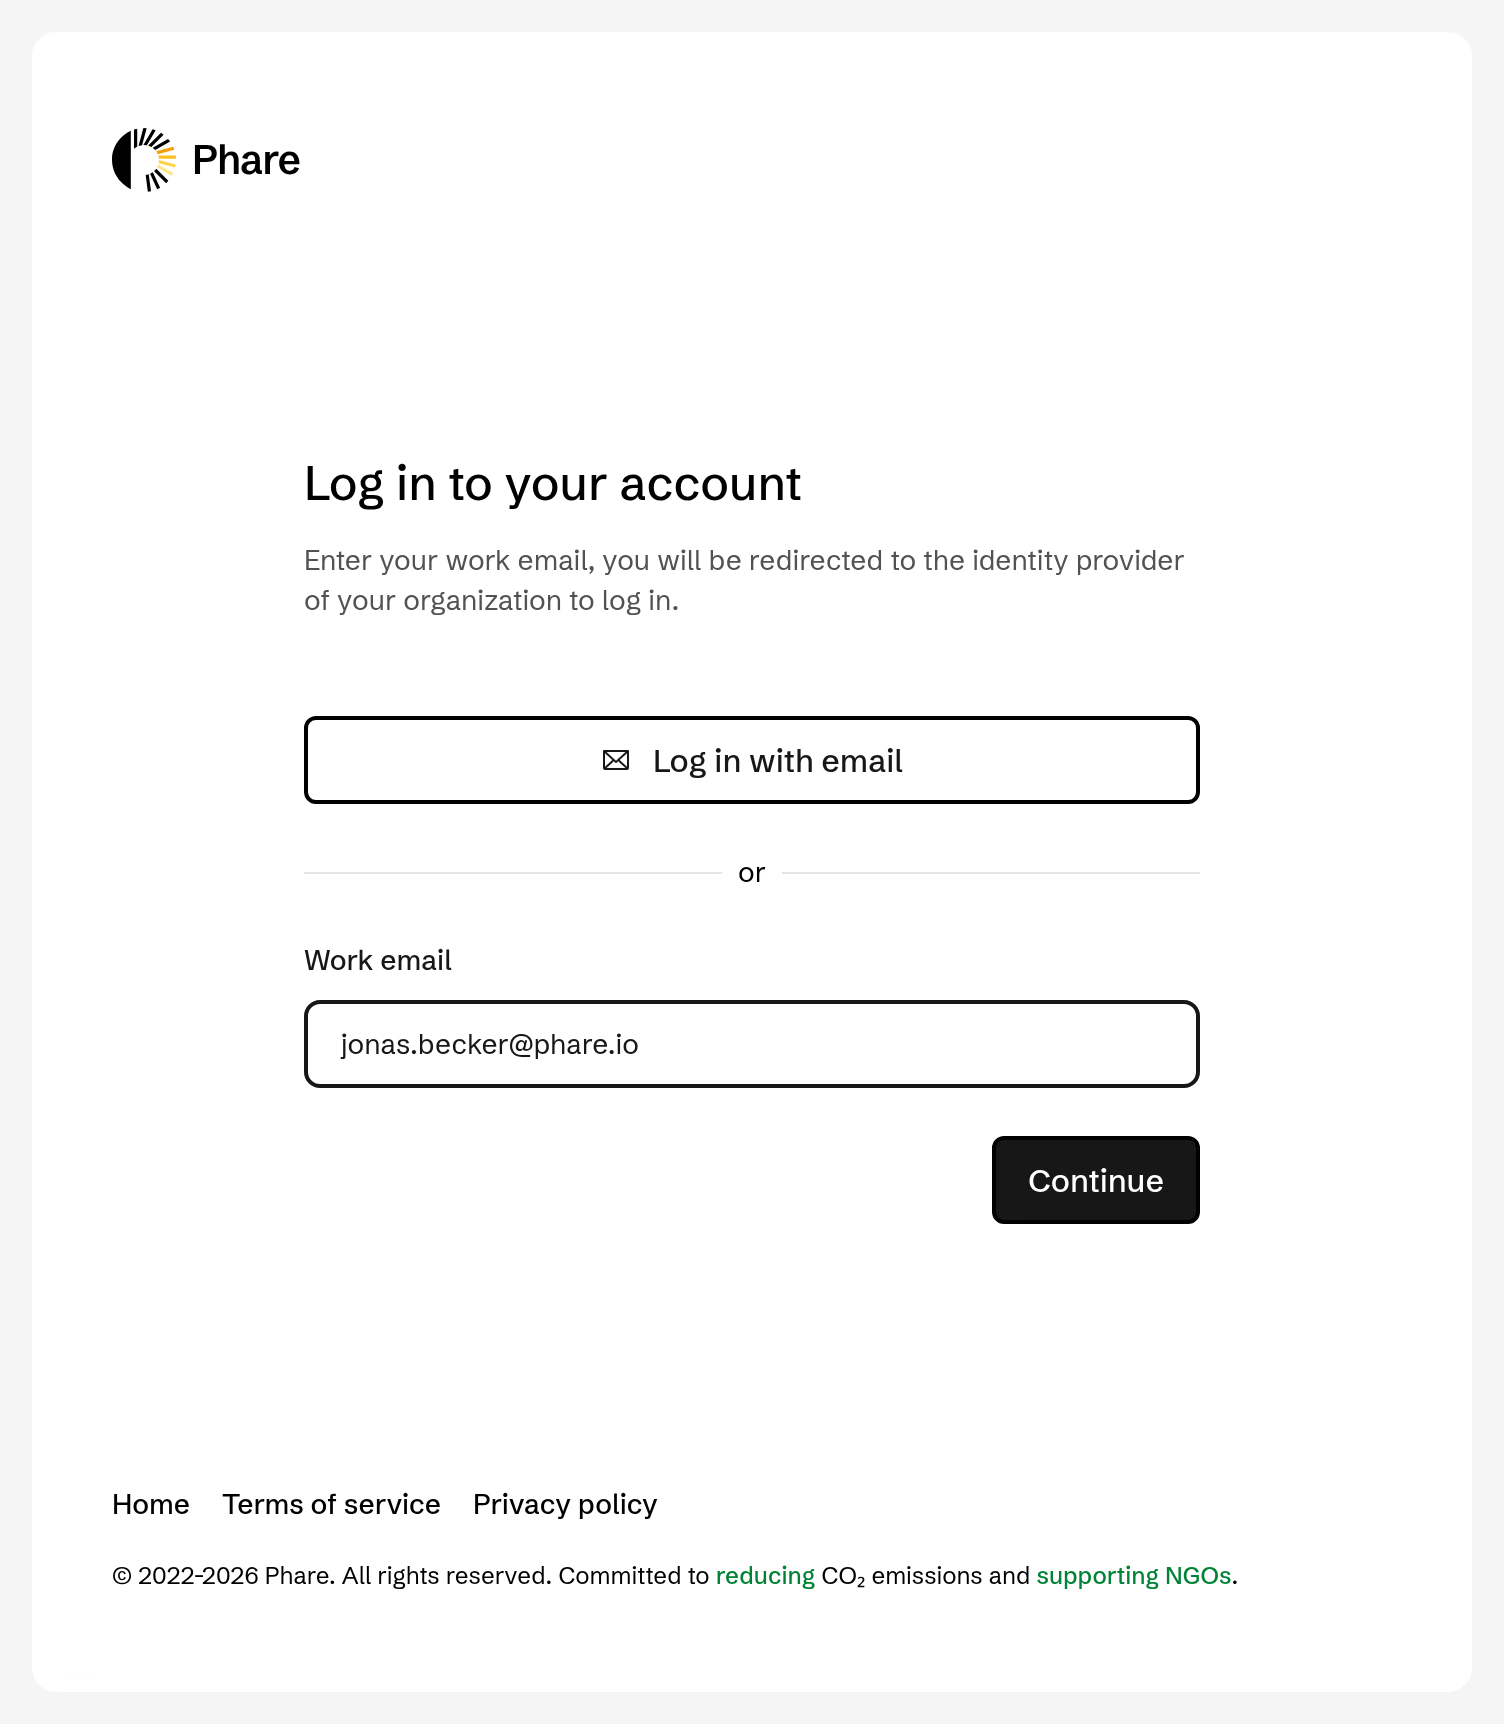
Joining with an invitation
New members accept their invitation with Continue with single sign-on, using the identity provider account matching their invitation email.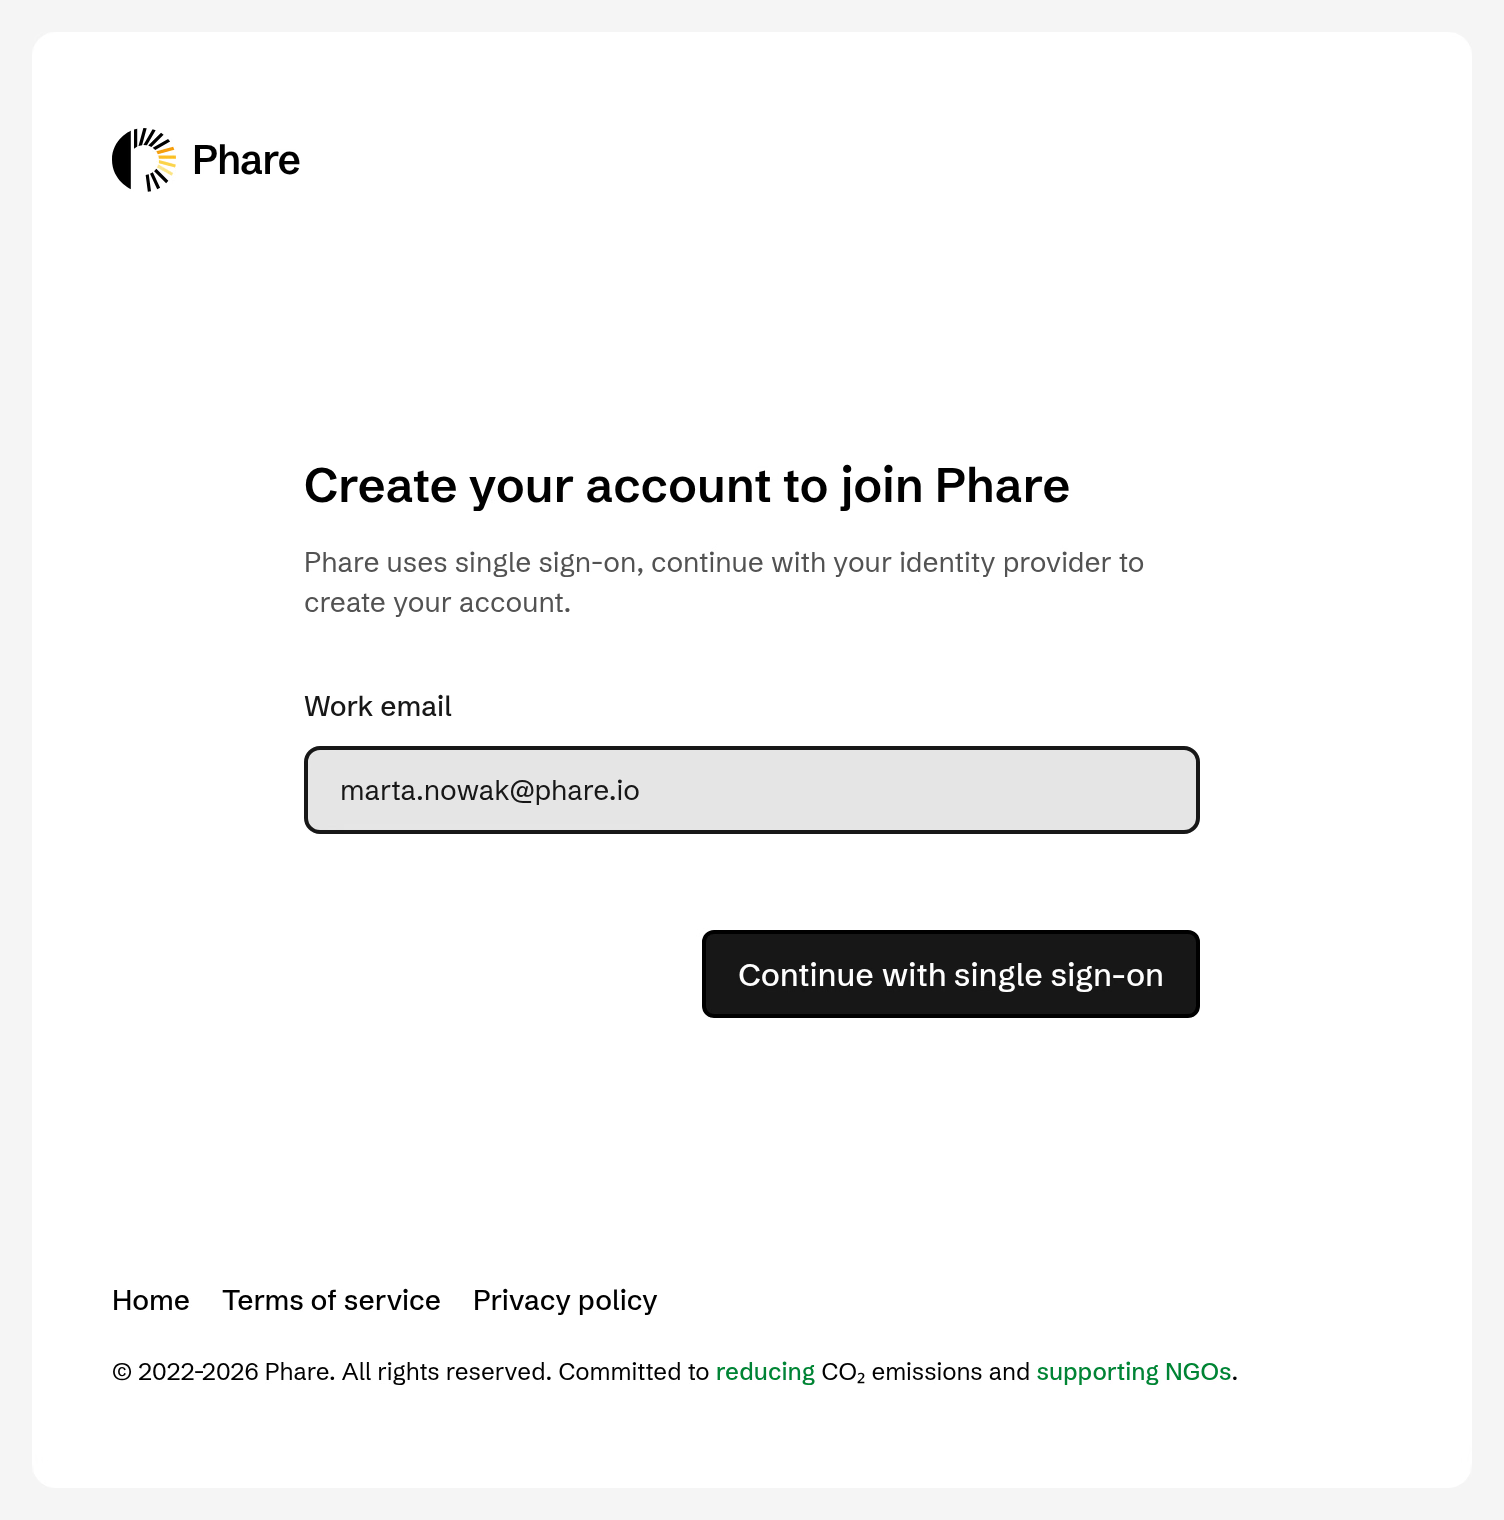
Changing the configuration
Removing single sign-on
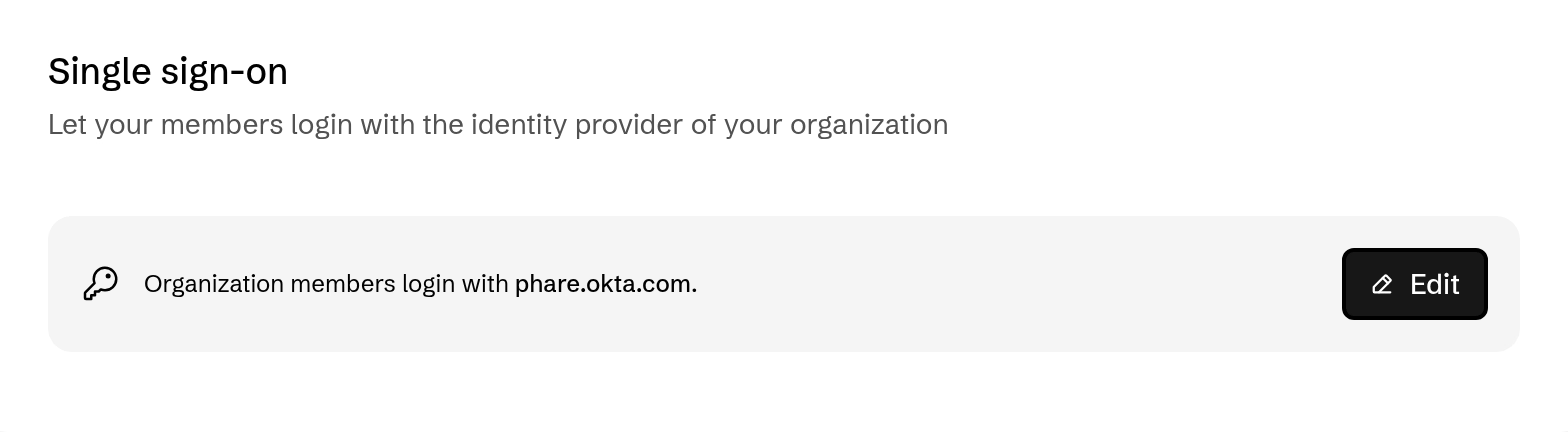
To remove single sign-on, click Edit then Remove in the single sign-on section. Members are logged out and log in with their password again. Members who joined with single sign-on have no password yet, they can create one with the forgot password page.Single sign-on keeps working if your organization leaves the Scale plan. The configuration can’t be updated anymore, but it can still be removed.
Security
The organization owner receives an email when single sign-on is enabled, removed, or connected to another identity provider, with the admin who made the change, their IP address and browser. If the change is unexpected, review your single sign-on settings and contact support@phare.io. Phare uses the authorization code flow with PKCE, verifies the signature, issuer, audience, nonce and expiration of every ID token, and refuses unverified emails.Troubleshooting
Single sign-on is not configured for this email
Single sign-on is not configured for this email
This email doesn’t belong to a member of an organization using single sign-on. If you are the owner, log in with your password, or link your account by running Save & test yourself.
No Phare account matches this email
No Phare account matches this email
Ask an admin of your organization for an invitation. If you are already a member, make sure your identity provider email matches your Phare email.
Your identity provider signed you in as another account
Your identity provider signed you in as another account
Log out of your identity provider, or use a private window, then log in with the account matching your Phare email.
Your identity provider reports this email as unverified
Your identity provider reports this email as unverified
Verify the email in your identity provider and try again. On Keycloak, turn Email verified on in the profile of the user. On Auth0, the user must click the verification link sent by Auth0. On authentik 2025.10 and later, replace the default email mapping as explained in the authentik instructions.
Your identity provider refused to complete the sign-in
Your identity provider refused to complete the sign-in
Make sure the client ID and client secret are correct, and that the application uses the
client_secret_basic authentication method: Client Secret (Basic) on Auth0, Client Secret Basic on JumpCloud, Basic on OneLogin and Code on ZITADEL. On Microsoft Entra ID, make sure you use the Value of the client secret, not its secret ID, and that it hasn’t expired.The ID token returned by your identity provider could not be verified
The ID token returned by your identity provider could not be verified
Phare only accepts ID tokens signed with RS256, RS384, RS512, ES256 or ES384. On authentik, select an RSA Signing Key in the provider settings. On Auth0, make sure the signature algorithm of the application is RS256.
Your identity provider shows a redirect URI error
Your identity provider shows a redirect URI error
Make sure the redirect URI in your identity provider exactly matches the one shown in the single sign-on section of Phare. Some identity providers, such as Google and OneLogin, can take a few minutes to apply a new redirect URI.
The issuer returned by your provider is different
The issuer returned by your provider is different
Use the issuer URL shown in the error message, it must exactly match the issuer published by your identity provider.
Your identity provider must be publicly reachable
Your identity provider must be publicly reachable
Phare must reach your identity provider over https on port 443, from the internet. Identity providers on a private network or behind a VPN don’t work with Phare.
Your Phare account is linked to another account of your identity provider
Your Phare account is linked to another account of your identity provider
This usually happens when your identity provider account was deleted and created again. Contact support@phare.io to reset your single sign-on link.
Your single sign-on attempt expired
Your single sign-on attempt expired
Logins must be completed within 10 minutes. Start again from the login page.